Cut With Profile Tool
Table of contents:
Introduction
Cut with profile
Hello!
Welcome to the article, in which we are going to learn about SelfCAD's 3D modeling tool called Cut with Profile. I am going to explain all of its ins and outs and present its general applications. On top of that, I will share a few Tips and Tricks that you could use with Modifiers.
Cut with Profile is one of the Modify tools available in SelfCAD that you can find in the main Toolbar, in the Modify drop-down list. As its name suggests, it allows you to engrave drawn profiles onto the topology of the object, thus increasing its level of detail. You can use those engraved profiles to modify your objects even further.
It is a unique tool, as it does not alter the topology of the model by itself as the rest of Modify tools, and uses previously drawn profiles to do so.
Follow the article to learn all about this tool!
Draw and position the profile
The first step of using the Cut with Profile tool is drawing and positioning the Profile that you want to engrave onto the model. You can draw it with the help of the 3D Sketch and position it with the help of the Move. You can select it by either left-clicking on it in the workspace or by selecting it in the Object Management section, in the right-side panel.
Select both objects

Once you position your profile, all that is left for you to do is to select the model as well. As stated before, this tool requires both the Profile and the Object to work, and without selecting both, you will not able able to open the tool. As always, you can select objects by either left-clicking on them in the workspace or by selecting them in the Object Management section in the right-side panel. The second option has an in-built search engine, which is extremely useful when you are working with multiple objects.
Cut with profile
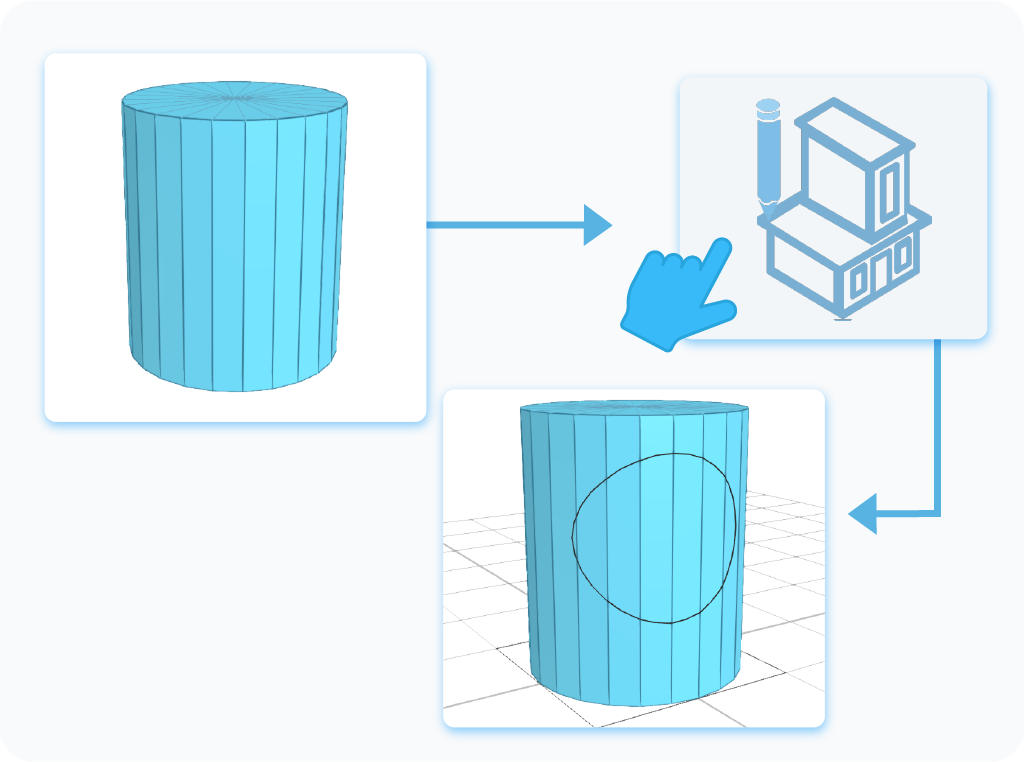
Once the object and the profile are selected, you can activate the Cut with Profile tool by selecting it from the Modify drop-down list in the main Toolbar or by using a shortcut by pressing the 'M+P' combination on your keyboard. Since there is no customization when it comes to this tool, activating it will automatically engrave the profile on the surface of the model and select it in preparation for further modification.
And that’s about it for the Cut with Profile. After reading this article, you should know the basics of this tool and how to use it, and know about its different applications. Of course, the graphics shown here were just examples, and using this tool on other shapes with different profiles will give you slightly different effects, but its underlying principles will always stay the same.
That's all I have for you today. I wish you success in your future projects. See you, and stay tuned for more content to come!
Haven't tried SelfCAD yet? Register now, and try it out for free!

Do you want to learn 3D modeling? Check out our interactive tutorials.


