
Design a Modern Smartphone in 3D Using SelfCAD AI features
To create a 3D model, you need to first understand shapes, dimensions, transformations, and other modeling approaches. Even a seemingly simple electronic gadget, such as a modern smartphone, can require multiple manual processes before the final design is ready, particularly for beginners. SelfCAD AI Modeling offers a different technique, allowing users to explain their designs in normal language while AI develops the smartphone's first shape.
In this post, we will use a text prompt to customize a modern smartphone. The instruction goes over the entire method, from launching the AI Modeling tool and creating a comprehensive prompt to generating, revising, and preparing the model for 3D printing. SelfCAD's AI features enable you to improve the created design with traditional 3D modeling tools, making the initial modeling process more accessible while still maintaining control over the phone's size, proportions, screen, body, camera area, buttons, edges, and general appearance.
Steps of Design a Modern Smartphone Using SelfCAD AI Modeling
Step 1: Launch the SelfCAD Editor.
To begin, launch the SelfCAD Editor.
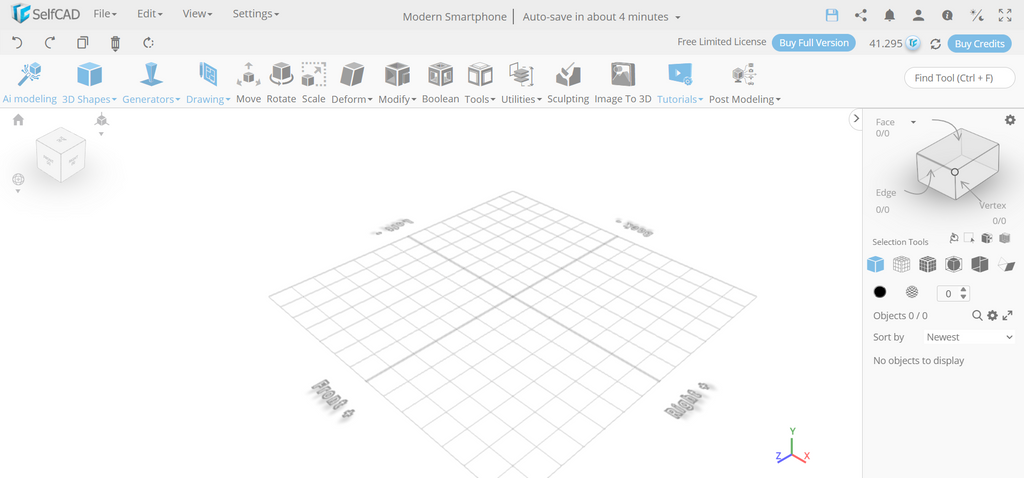
We will use AI modeling to generate the smartphone basic geometry before making any more changes to the project.
Step 2: Open AI Modeling
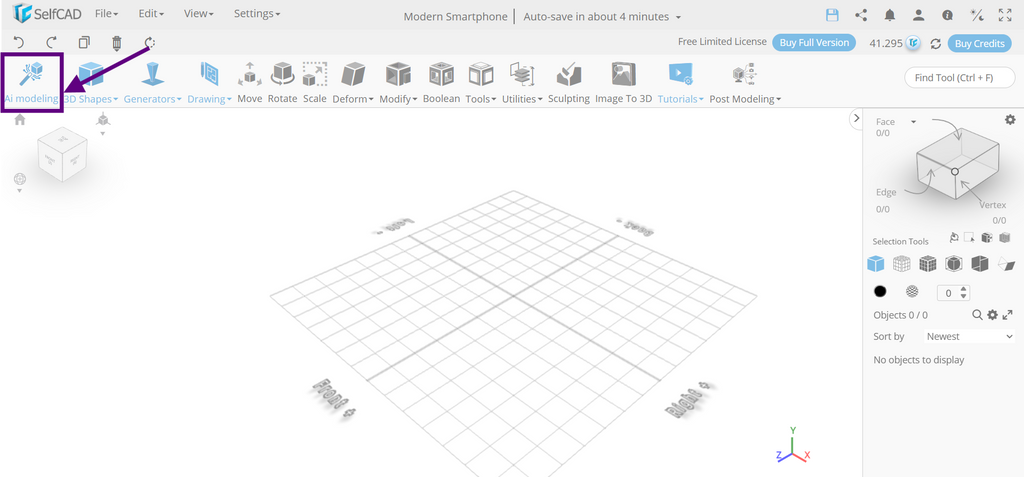
To open the AI-powered modeling tool, pick AI Modeling in the SelfCAD Editor menu. The AI Modeling interface includes a text box that allows you to define your design requirements in depth. SelfCAD provides many AI creation methods based on the sort of product you wish to produce.
Our goal for this project is to develop a modern smartphone that is both utilitarian and sleek, rather than an overly complex or beautiful device. The smartphone should have a slim main body, a well-defined display, rounded corners, a rear camera module, side buttons, and acceptable proportions for easy handling. The design should also have a strong structure and be ready for further refining and 3D printing.
Step 3: Pick the right Creation Mode
Pick a Functional Assembly for the design of the modern smartphone.
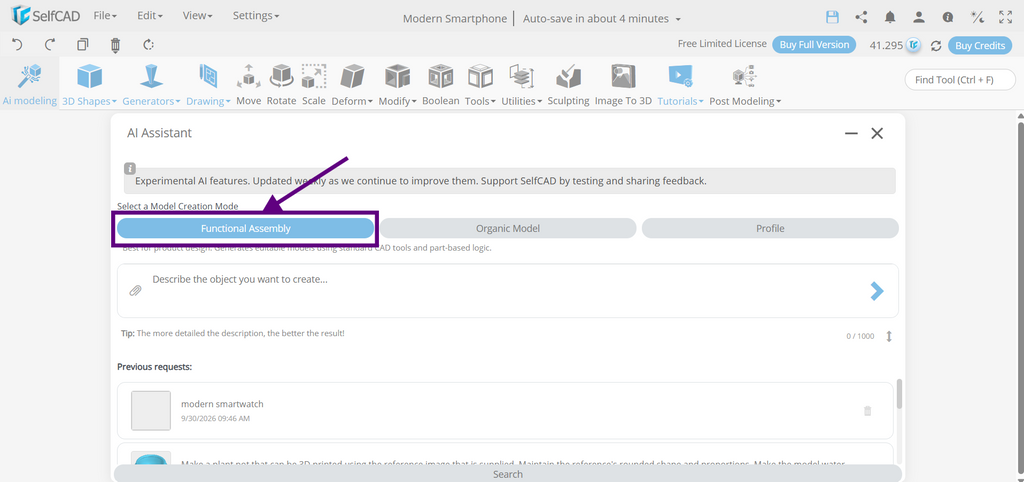
A modern smartphone is made up of various components that work together to create a fully functional gadget. The design's primary aspects include the main body, display, rear camera module, side buttons, charging port, speaker apertures, and other structural features.
Each component serves a distinct purpose, making the Functional Assembly technique appropriate for smartphone construction. The main body provides the general structure, and the display serves as the principal front interface. The camera module complements the back camera design, while the buttons and charging port provide important interface and connectivity capabilities. This approach organizes and streamlines the modeling process by taking into account how each component contributes to the smartphone's dimensions, usefulness, durability, and overall design.
Step 4: Add a Reference Image
Including a reference image is optional, but it might provide helpful visual guidance while building a current smartphone with SelfCAD AI Modeling.
You can use an image of a smartphone to help the AI assistant grasp your chosen design, style, proportions, structure, and overall appearance. However, the written stimulus is still the most significant aspect of the procedure. Even without a reference image, the AI can grasp your needs if they are properly and completely stated.
To achieve better results, define important characteristics such as the phone's overall dimensions, body form, screen size and positioning, camera module, side buttons, charging port, speaker holes, edge design, proportions, orientation, and other structural aspects. A comprehensive suggestion gives the AI a solid foundation for creating a smartphone that closely resembles your desired design.
Step 5: Write a Prompt for AI Modeling
Now, explain the modern smartphone you wish to design with SelfCAD. A thorough prompt is extremely valuable because it gives the AI specific information about the phone's function, dimensions, body shape, display, camera module, buttons, charging port, speaker holes, proportions, edge design, and overall orientation. The more specific your description is, the better the created model will reflect your planned design.
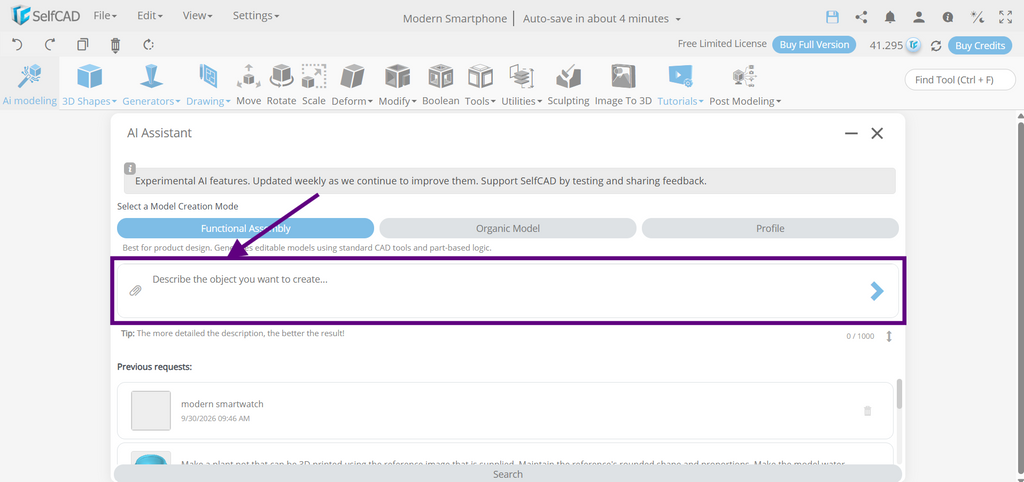
For example, you may use the prompt:
Create a realistic, modern flagship smartphone as a detailed 3D model. Design a slim rectangular body with softly rounded corners, a premium glass front and back, and a durable metallic frame. Add a large edge-to-edge display with minimal bezels and a small centered punch-hole front camera.
On the rear, create a sleek raised camera module containing three high-resolution cameras, an LED flash, and a depth sensor. Add subtle side buttons for power and volume, a USB-C charging port, speaker openings, and a small microphone.
Use precise proportions, smooth surfaces, realistic bevels, clean topology, and manufacturing-style details. Give the phone a premium dark titanium finish with glossy black glass and subtle reflections. Make all components properly aligned and proportioned.
The final result should look like a commercially manufactured 2026 flagship smartphone, with realistic materials, clean geometry, professional product-design aesthetics, and high-quality 3D modeling suitable for rendering from multiple angles.
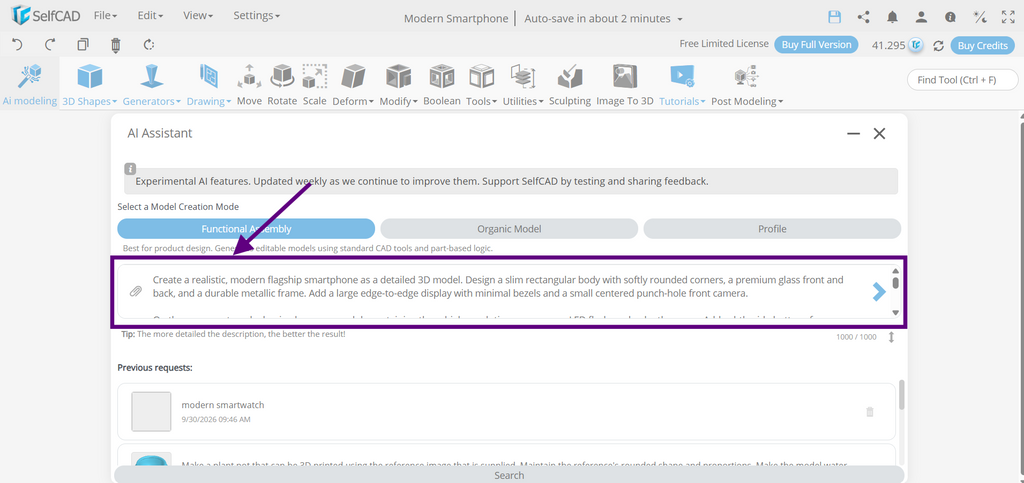
This detailed description allows the AI to better comprehend the modern smartphone prototype and serves as a solid foundation for creating its initial 3D model.
Step 6: Generate the Model
After providing the prompt and attaching the reference image (not necessary), click Generate:
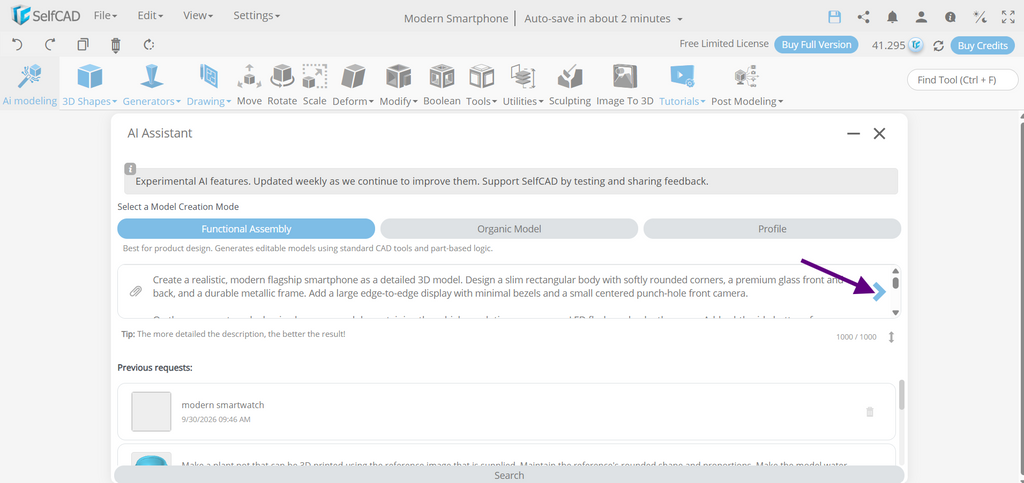
Here, you can see SelfCAD AI analyzing the request for generating the key elements required to design a modern smartphone.
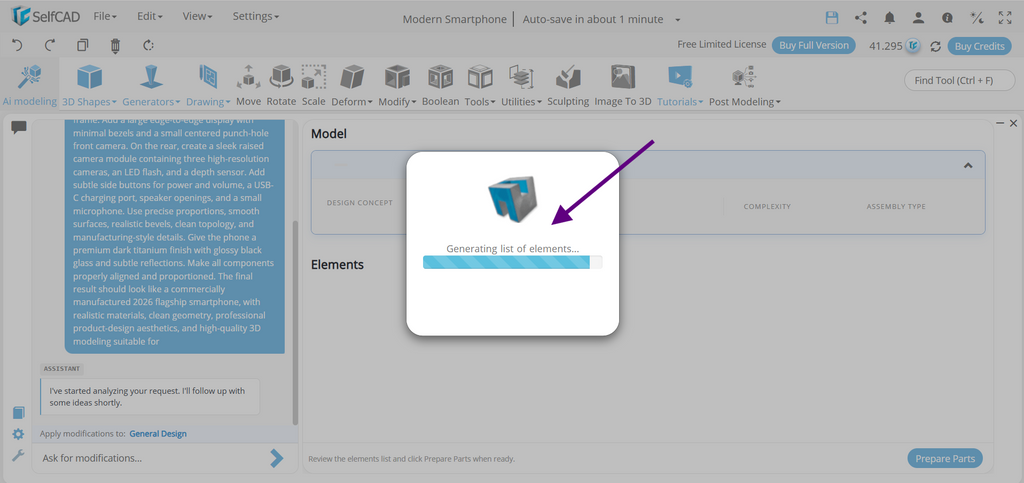
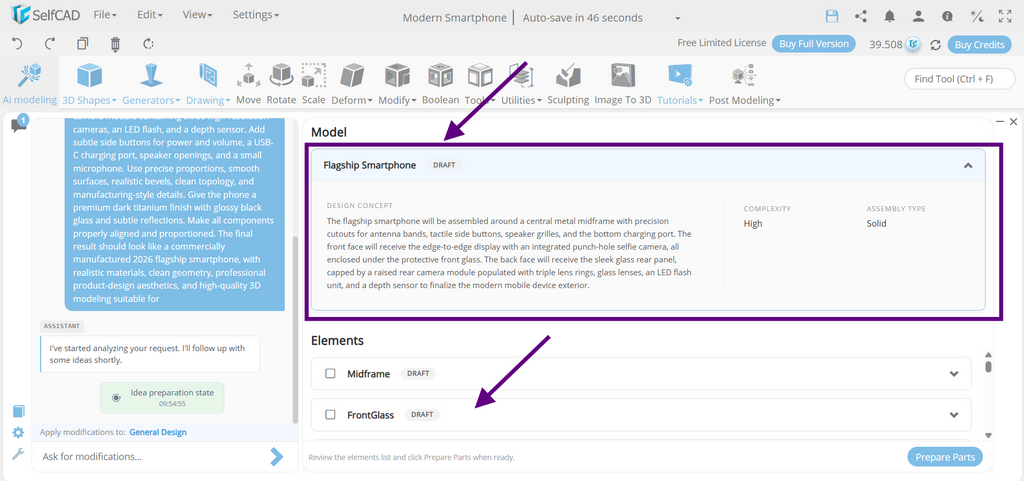
This highlights the distinction between AI-assisted modeling and traditional 3D modeling. Rather than creating distinct basic forms and manually altering them from the start, SelfCAD AI develops the smartphone's initial geometry based on the specifications in your prompt.
The AI assistant may design the smartphone, including its primary body, display, camera module, side buttons, charging port, speaker apertures, and any other elements specified in your specifications. After the model is generated, you can review it in the SelfCAD Editor and make any necessary changes. This method allows you to keep your original design intact while improving the phone's dimensions, proportions, form, usefulness, structure, and overall look.
Step 7: Prepare the Parts
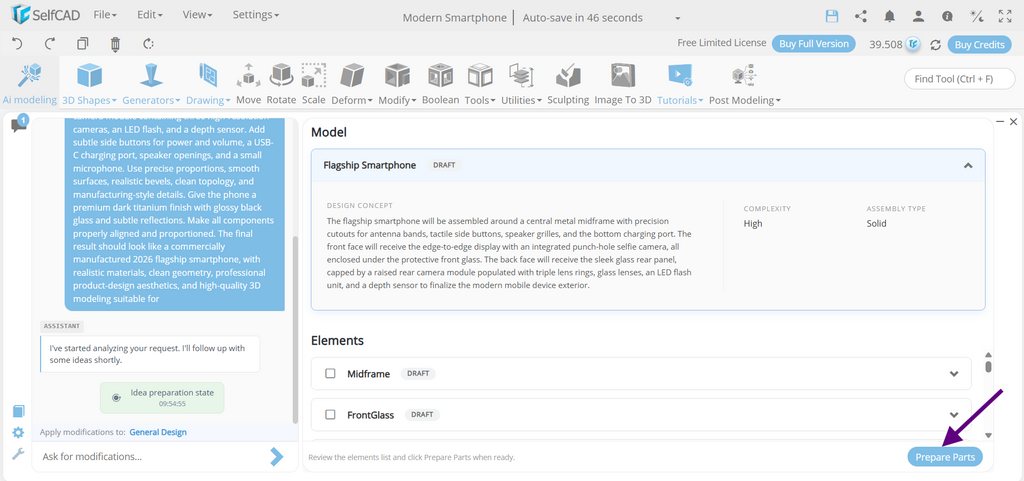
When you are happy with the draft, click Prepare Parts.
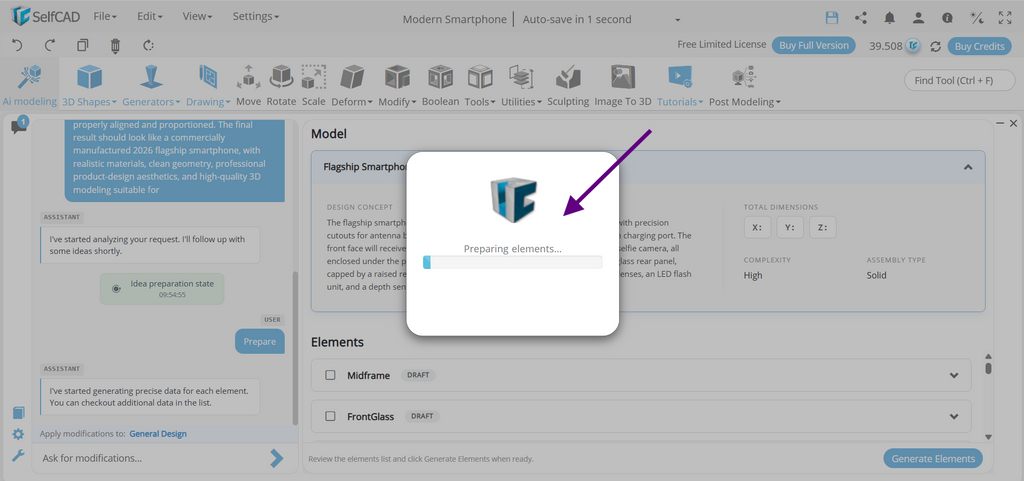
As you can see, the tool is preparing elements.
Ask for Modification:
After creating the first model, you may utilize SelfCAD AI to further develop the modern smartphone based on your specifications. If you wish to change its dimensions, form, component location, orientation, thickness, or any other design element, give the AI precise and detailed directions.
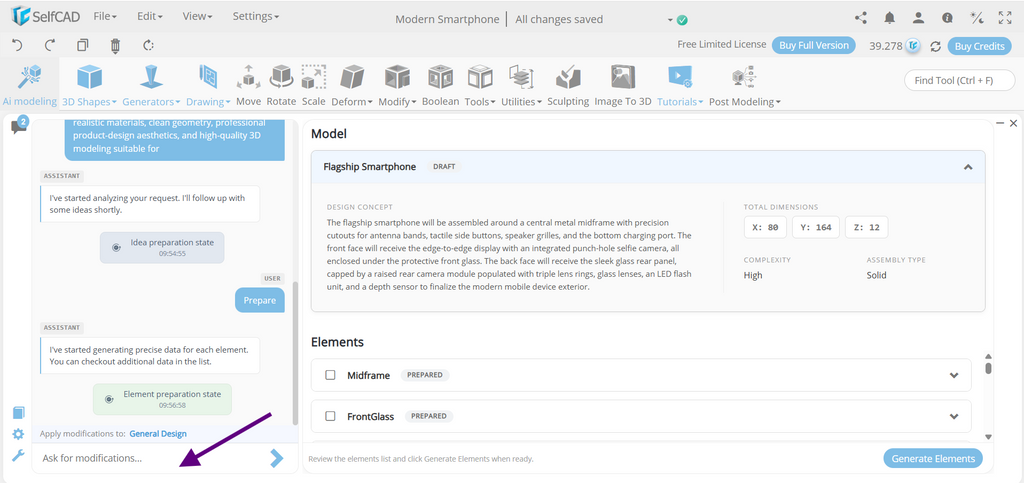
As illustrated in the screenshot above, the AI makes the desired changes based on your directions. You can use this method to improve the phone's body, display, camera module, buttons, charging port, speaker openings, and other components. Continue to iterate until the model has the appropriate proportions, structure, usability, appearance, and overall functionality.
Step 8: Generate Elements
Next, Click on Generate Elements:
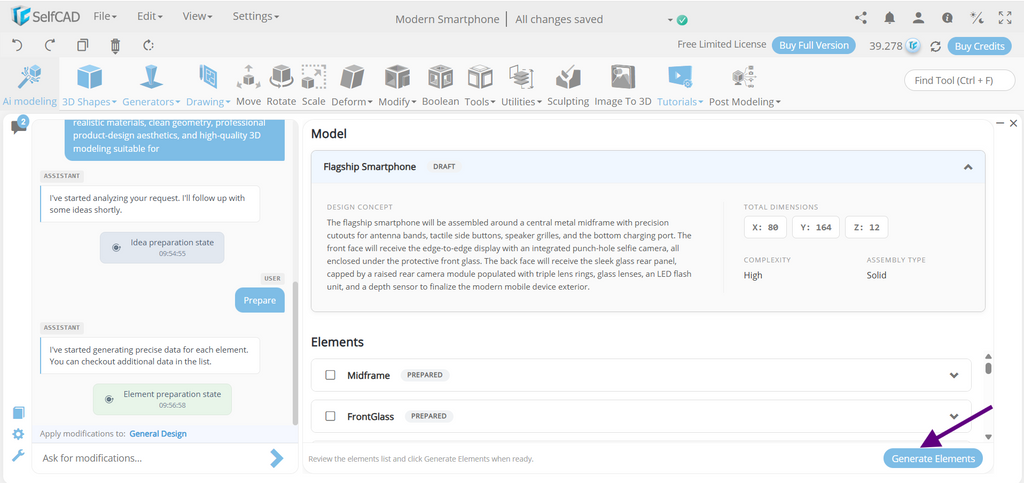
The tool will show that it is creating the following elements:
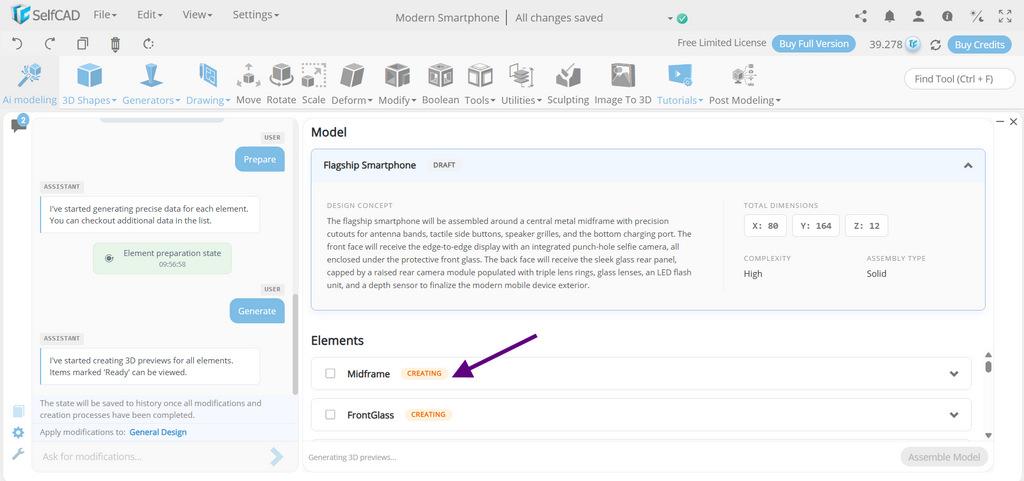
Step 9: Assemble Model
Now, the elements are ready click on Assemble Model:
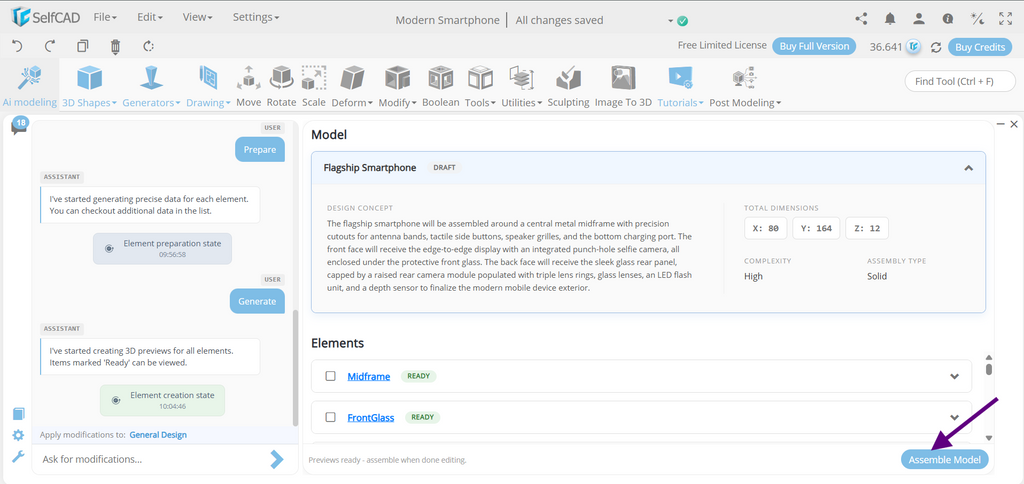
During the assembly stage, the generated components are assembled to form a fully functional smartphone. The primary body should serve as a sturdy foundation, while the display, camera module, buttons, charging port, and speaker holes should be properly aligned and securely placed. Any new structural features should be correctly connected to preserve the device's dimensions and integrity.
Before proceeding to the usual SelfCAD workspace, evaluate the completed smartphone from various angles to detect any flaws with alignment, measurements, proportions, positioning, or connections. This examination confirms that all components fit together correctly and offers a solid foundation for future improvement and preparation for 3D printing.
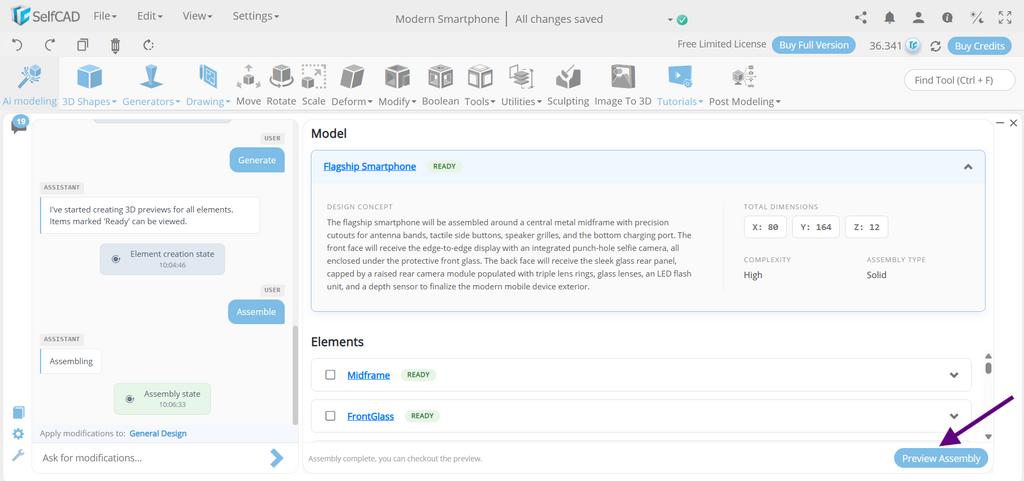
Step 10: Add the Modern Smartphone to the Scene
Once you're satisfied with the results, add the modern smartphone to the SelfCAD scenario. At this point, you can continue working on the AI-generated model with the traditional modeling tools accessible in the SelfCAD workspace.
This design process serves as the design process is the final stage. Although SelfCAD AI generates the basic geometry from your description, traditional modeling tools have more control over the final appearance and structure. Scale, Move, Rotate, and Stitch & Scoop can be used to fine-tune the smartphone's dimensions, position, orientation, body form, edges, and other features. You can also modify the display, camera module, buttons, ports, and other components to create the required proportions and appearance. Following these refinements, the model can be inspected and ready for 3D printing or additional design development.
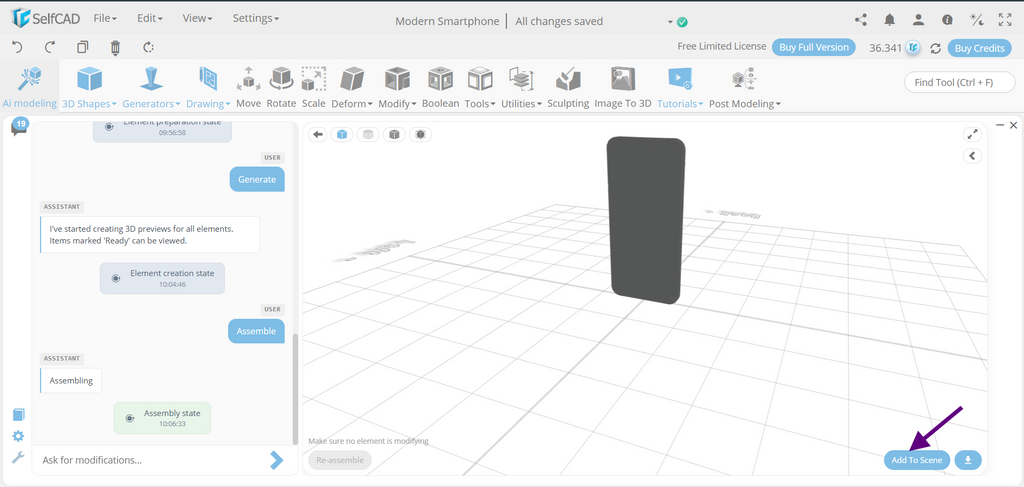
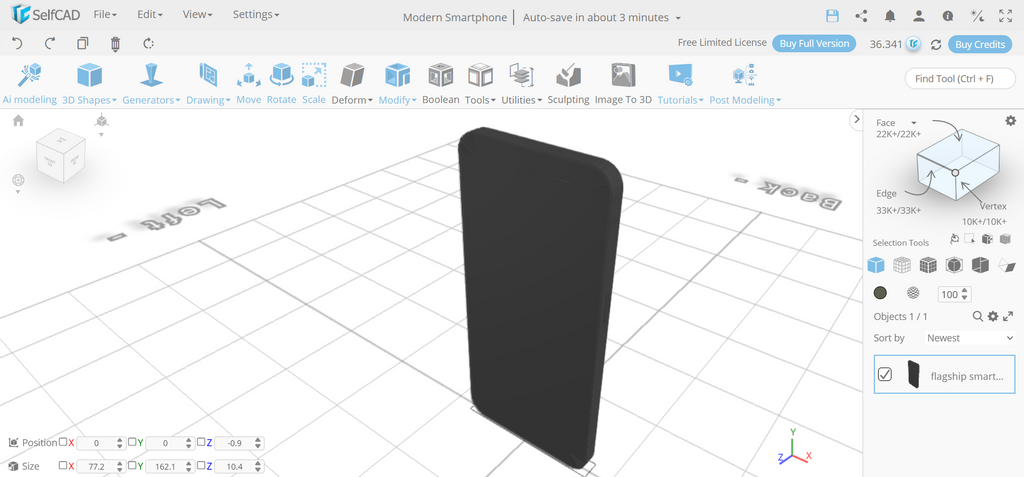
Final Model look like this;
Conclusion
Creating a modern smartphone using SelfCAD AI Modeling highlights how AI can help with the early stages of 3D design. Instead of physically designing the phone body, display, camera module, buttons, ports, and other components, you can describe the design and, if desired, include a reference image for additional advice.
The primary benefit is the capacity to refine and iterate. If the initial model has wrong dimensions, misplaced components, an inappropriate thickness, or structural flaws, you can supply extra instructions to modify it. After creating the model, SelfCAD's standard tools allow you to change its dimensions, shape, proportions, edges, connections, and other aspects while still maintaining control over the final design.